What is the Secret to Good Sourdough Bread?
Crafting the perfect sourdough bread is both an art and a science, requiring a delicate balance of tradition, precision, and a touch of intuition. For centuries, bakers have been captivated by the sourdough’s unique tangy flavor, chewy texture, and rustic charm. Yet, creating this culinary masterpiece can seem like a daunting task. Fear not—this comprehensive guide breaks down the secrets to good sourdough bread, from understanding its history and foundation to mastering every step of the baking process. Let’s dive into the first essential element: what makes sourdough truly unique.
Understanding Sourdough Bread
What is Sourdough Bread?
Sourdough bread stands apart from other bread due to its natural fermentation process. Unlike bread made with commercial yeast, sourdough relies on wild yeast and lactic acid bacteria cultivated in a fermented mixture of flour and water called a starter. This process not only gives sourdough its iconic tangy flavor but also boosts its nutritional profile and digestibility.
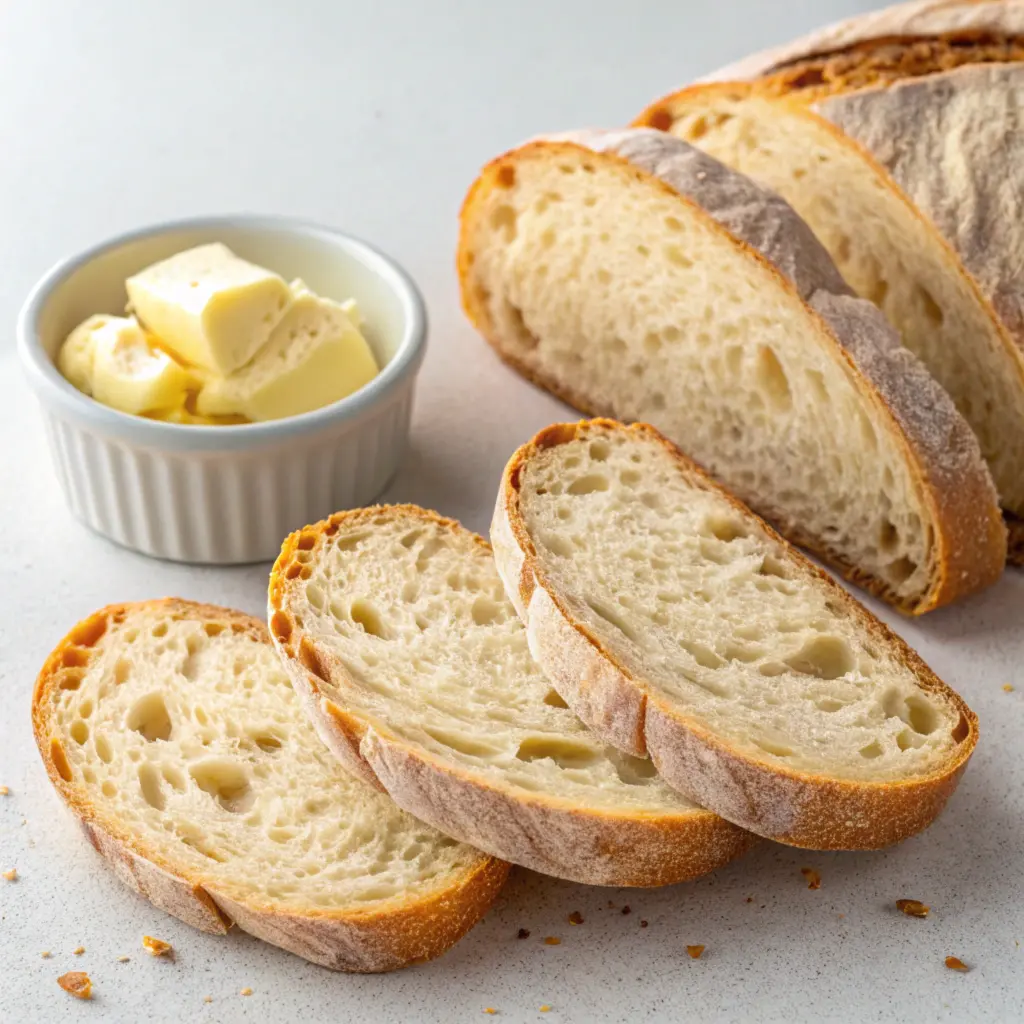
Its distinguishing features include a chewy crumb with an open structure and a golden, crackly crust. The unique fermentation process develops complex flavors and textures that vary based on the environment, ingredients, and baker’s technique.
The Rich History of Sourdough and Its Time-Honored Secret
The roots of sourdough bread stretch back thousands of years, with evidence dating to ancient Egypt. In fact, sourdough was likely humanity’s first form of leavened bread! It remained a staple for centuries, cherished for its durability, flavor, and ease of preparation without commercial yeast.
During the California Gold Rush, miners relied on sourdough for sustenance, earning the nickname “sourdoughs.” Today, it has enjoyed a renaissance among bakers who seek artisanal and natural methods.
Sourdough also carries cultural significance, with each starter reflecting its unique locale. Whether it’s a tangy San Francisco loaf or a hearty European one, the characteristics of sourdough bread connect us to a shared heritage of culinary craftsmanship.
The Foundation of Great Sourdough – The Starter
What is a Sourdough Starter?
At the heart of every great loaf of sourdough bread lies the sourdough starter. This magical blend of flour and water ferments over time, nurturing wild yeast and beneficial bacteria. Together, these organisms act as the natural leavening agents for the bread, producing the characteristic rise, tangy flavor, and tender crumb.
The beauty of a starter is its adaptability. Different flours, climates, and care techniques create unique ecosystems, resulting in distinctive flavors. Think of your starter as a living organism; when you feed it, it rewards you with vibrant, bubbly activity ready to transform your dough.
How to Create a Healthy Sourdough Starter for Perfect Loaves
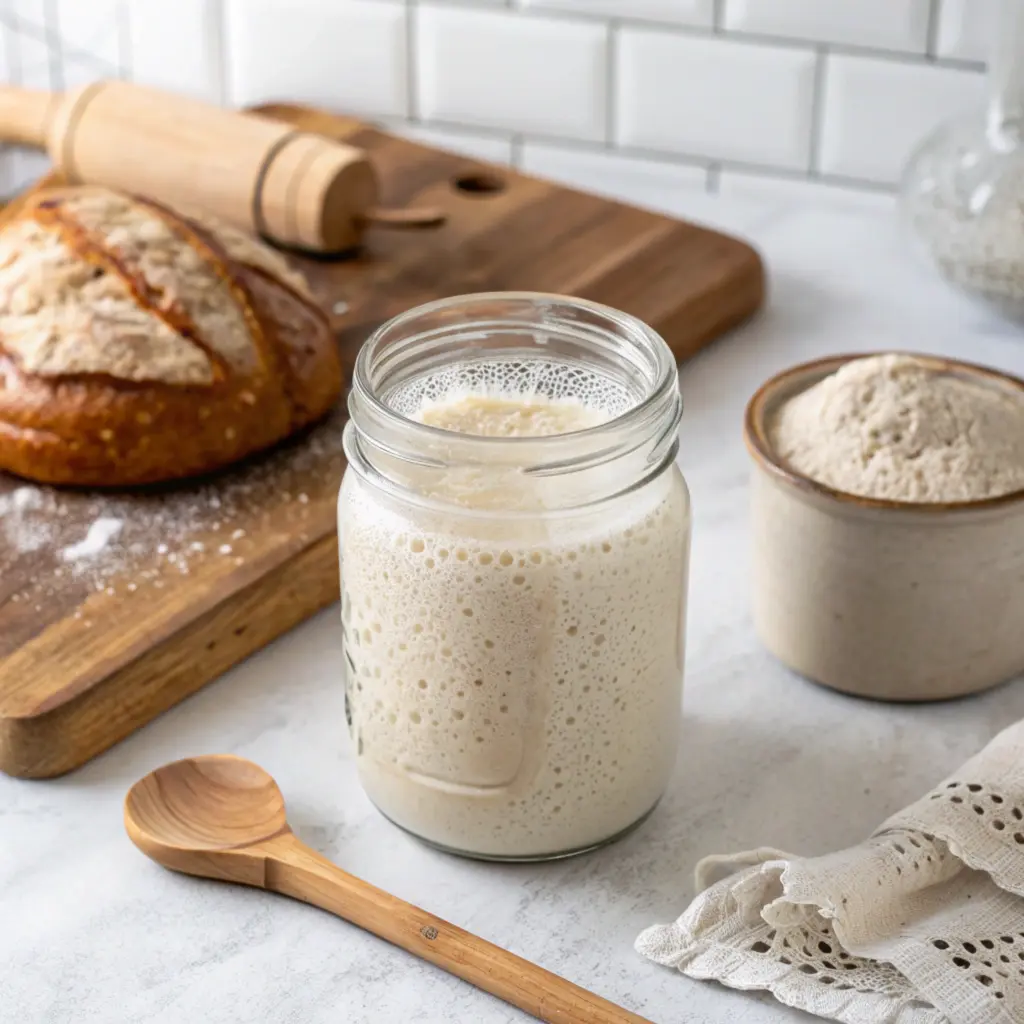
To create your starter, combine equal parts of flour and water in a clean jar, cover loosely, and let it sit at room temperature. Each day, discard half the mixture and “feed” it with fresh flour and water. After about a week, you’ll notice bubbles and a tangy aroma—signs that your starter is alive and thriving!
Maintaining a starter requires consistency. Feed it regularly (daily if kept at room temperature, weekly if refrigerated). Use filtered water to avoid chlorine, and keep the container clean to prevent contamination. Over time, your starter becomes a robust culture, ready to infuse your sourdough bread with life and flavor.
Common Issues with Sourdough Starters and Their Solutions
Even experienced bakers face hiccups with their starter. Is it developing an unpleasant smell? That’s likely hooch, a harmless liquid signaling hunger—feed your starter more frequently. Got mold? Toss it and start fresh, as mold indicates contamination.
Sluggish fermentation? It might need a warmer spot, as yeast thrives in moderate temperatures. Adjusting feeding ratios or switching to a different flour, such as whole wheat, can also boost activity. A little patience and attention go a long way in nurturing a healthy starter.
Science Secrets Behind Great Sourdough Bread
The Role of Wild Yeast and Bacteria in Sourdough Bread
The secret to good sourdough bread lies in the delicate interplay of wild yeast and bacteria. Wild yeast provides the leavening, releasing carbon dioxide to create airy pockets in the dough. Meanwhile, lactic acid bacteria produce the tangy acids responsible for sourdough’s signature flavor.
This symbiotic relationship balances each element perfectly. The bacteria feed on byproducts of the yeast, while the yeast benefits from the bacteria’s acidity, which wards off harmful microbes. Together, they create a harmonious ecosystem that defines sourdough bread.
How Fermentation Affects the Flavor of Good Sourdough Bread
Fermentation is where the magic happens. The longer you ferment the dough, the deeper the flavors become. However, there’s a fine line—over-fermentation can lead to overly sour bread or dough that collapses.
Temperature plays a crucial role too. Warmer temperatures accelerate fermentation, while cooler ones slow it down, allowing for better control of flavor development. Many bakers opt for a cold, slow fermentation (refrigeration) overnight, which mellows the acidity and improves texture.
Hydration Levels: A Key Secret to Excellent Sourdough Bread
Hydration, the ratio of water to flour, influences everything from crumb structure to crust development. High-hydration doughs (above 70%) yield open, airy crumbs and a tender texture, perfect for sourdough enthusiasts who love big holes in their bread. Lower hydration results in tighter crumbs, ideal for sandwiches or toasting.
Experimenting with hydration levels can help you achieve your preferred texture. Just keep in mind that higher hydration doughs are stickier and require more skill to handle. Yet, with practice and persistence, you’ll master this critical aspect of sourdough bread baking.
Choosing Ingredients for the Best Sourdough Bread
Selecting the Right Flour
Flour is the cornerstone of sourdough bread, so choosing the right type can make all the difference. The best sourdough bakers often prefer unbleached bread flour for its high protein content, which provides the gluten structure needed for a strong, elastic dough. However, whole-grain flours like whole wheat or rye bring added nutrients and a deeper, earthier flavor to the bread.
Experimenting with different flours, such as spelt or einkorn, can also add complexity to the bread’s flavor profile. When sourcing flour, freshness matters—a fresher flour contains more active enzymes that enhance fermentation. For a truly artisanal touch, consider using organic or locally milled flours.
Water Quality and Its Effects
Water seems simple, but it’s a vital ingredient in sourdough bread. The minerals in water impact the activity of the yeast and bacteria in your starter. Hard water, which is rich in minerals, can enhance fermentation, while overly chlorinated tap water might hinder microbial growth.
Filtered water is an excellent choice to ensure consistency in your bread-making process. The temperature of the water is another critical factor—cool water slows fermentation, while warm water speeds it up. Adjusting water temperature helps control dough behavior and fermentation timing.
The Role of Salt in Sourdough
Salt does more than season the dough—it strengthens gluten, regulates yeast activity, and balances the flavor. Without salt, the dough ferments too quickly, resulting in an overly tangy taste. Most bakers use about 2% salt relative to the flour weight, striking a balance that enhances without overwhelming.
Timing matters too. Adding salt too early can hinder autolyse (a pre-mixing rest for flour and water), while adding it too late can lead to uneven incorporation. Dissolving salt in water before mixing ensures even distribution and optimal results.
Secrets to Mixing and Kneading Sourdough Dough
Autolyse: The Rest Before Mixing
Autolyse, a seemingly simple step, has transformative effects on sourdough bread. By mixing only flour and water and letting it rest before incorporating salt and starter, the dough develops better hydration and extensibility. This process activates natural enzymes in the flour, which improve gluten strength and flavor complexity.
Autolyse typically lasts 20–60 minutes, depending on the baker’s schedule. During this period, the dough begins its journey toward becoming cohesive and easier to handle—a step often credited as one of the secrets to good sourdough bread.
Kneading Techniques for Gluten Development
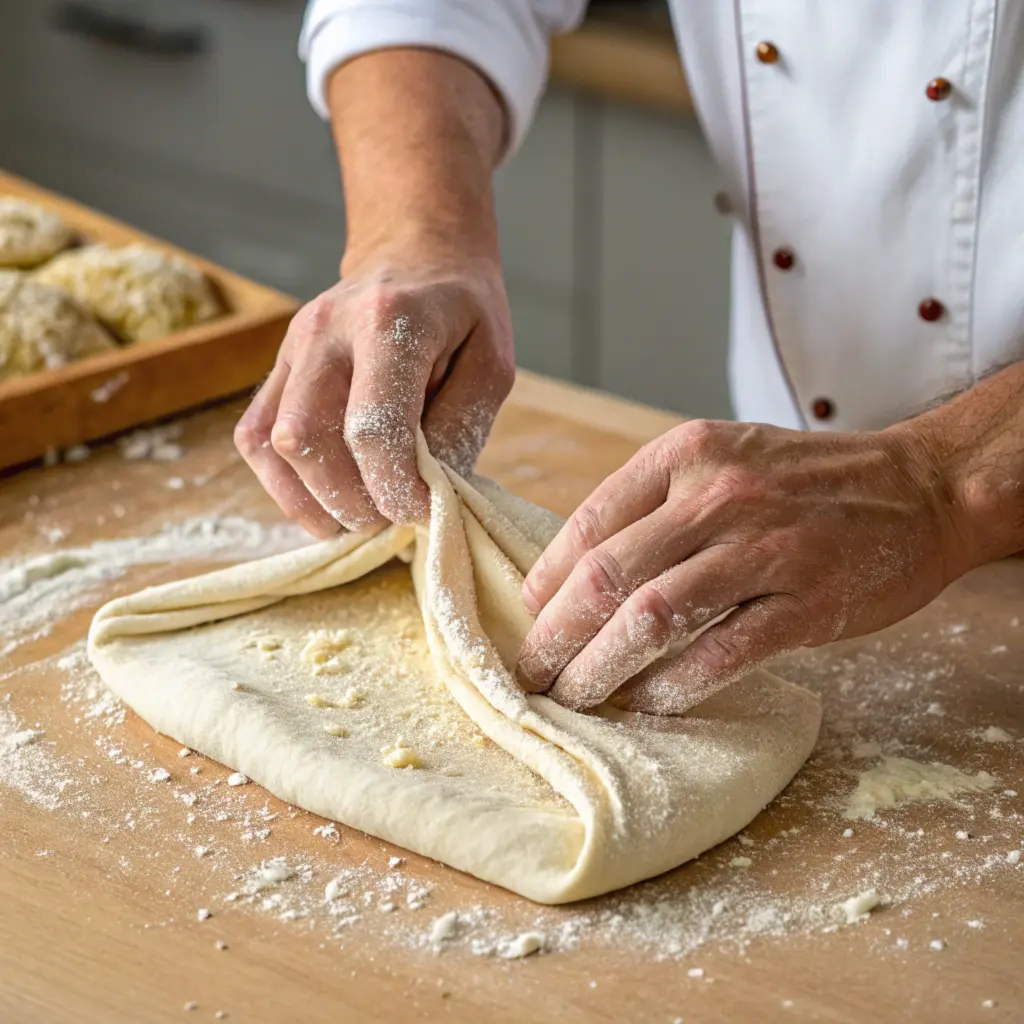
Kneading is where the dough’s gluten network takes shape. Proper gluten development ensures the dough can trap gases during fermentation, resulting in a well-risen loaf. Traditional kneading involves folding and pressing the dough repeatedly until it becomes smooth and elastic.
Modern bakers often use gentler methods like the “stretch and fold” technique, which works especially well for high-hydration doughs. This method develops strength while preserving airiness, leading to the open crumb structure prized in sourdough bread.
Incorporating Additional Ingredients
For bakers looking to add a twist, extra ingredients like seeds, nuts, or dried fruits can elevate sourdough to new heights. These should be incorporated after the initial kneading or during stretch-and-fold sessions to ensure even distribution.
Add-ins not only enhance flavor and texture but can also add visual appeal. For instance, a sunflower seed-studded crust offers a delightful crunch, while dried cranberries add a pop of sweetness to the tangy loaf. Careful timing and technique ensure the dough remains cohesive despite the additions.
Fermentation and Proofing – Secret to Good Sourdough Bread
Bulk Fermentation: Developing Flavor and Structure
Bulk fermentation is the first rise of the dough, and it’s here that much of the flavor and structure of sourdough bread develops. During this stage, wild yeast and bacteria work together to ferment the dough, creating gas bubbles that give the bread its airy texture.
This phase is where patience truly pays off. A long, slow fermentation allows the dough to mature, resulting in complex flavors. Most bakers aim for a fermentation time of 4–6 hours at room temperature, depending on the dough’s hydration and ambient conditions. Observing the dough is key—watch for it to nearly double in size and develop a slight jiggle when moved.
Shaping the Dough
After bulk fermentation, it’s time to shape the dough. Shaping serves two purposes: building surface tension to help the dough rise and forming it into a consistent shape for baking. Whether you prefer a round boule or an oval batard, the key is to handle the dough gently to preserve the gas bubbles formed during fermentation.
To shape, lightly flour your work surface and hands, then fold the dough inward to create tension on the outer surface. Avoid overworking the dough, as this can lead to a dense loaf. Practice makes perfect when it comes to shaping, so don’t be afraid to experiment.
Final Proofing: Timing and Environment
The final proofing stage is where the dough rests after shaping, allowing it to rise one last time before baking. This is a critical step in achieving a good sourdough loaf, as under-proofed dough may not rise properly, and over-proofed dough can collapse.
Proofing can take place at room temperature or in the refrigerator (cold proofing). Cold proofing, often done overnight, slows fermentation, allowing for deeper flavor development and easier handling. Dough is typically ready when it passes the “poke test”—a gentle poke leaves an indentation that springs back slowly but not completely.
Proofing baskets, also known as bannetons, help the dough maintain its shape during this stage. If you don’t have one, a bowl lined with a well-floured kitchen towel works just as well. Proper proofing ensures your sourdough bread is primed for an impressive oven spring and a beautiful final result.
Baking Sourdough Bread – Unlocking the Final Secret
Oven Preparation and Preheating
To bake sourdough bread successfully, the oven setup is critical. A high initial temperature is essential for achieving oven spring—where the dough rises rapidly in the oven—and a crisp, golden crust. Preheat your oven to 450–500°F (230–260°C) at least 30–45 minutes before baking. Using a baking stone or steel retains heat evenly, creating the perfect environment for the bread to rise.
For added steam, which helps develop a glossy crust, place a shallow pan of water in the oven or use a lidded Dutch oven. The steam keeps the dough’s surface moist, allowing it to expand fully before the crust sets.
Scoring the Dough
Scoring is both functional and artistic. Cutting the surface of the dough before baking allows it to expand without tearing, directing its rise for an even shape. A sharp blade, such as a baker’s lame or razor, makes clean cuts that open beautifully during baking.
Common patterns include straight lines, crosses, or elaborate designs. If you’re new to scoring, start with simple slashes until you feel comfortable experimenting with more intricate patterns.
Baking Techniques for Optimal Results
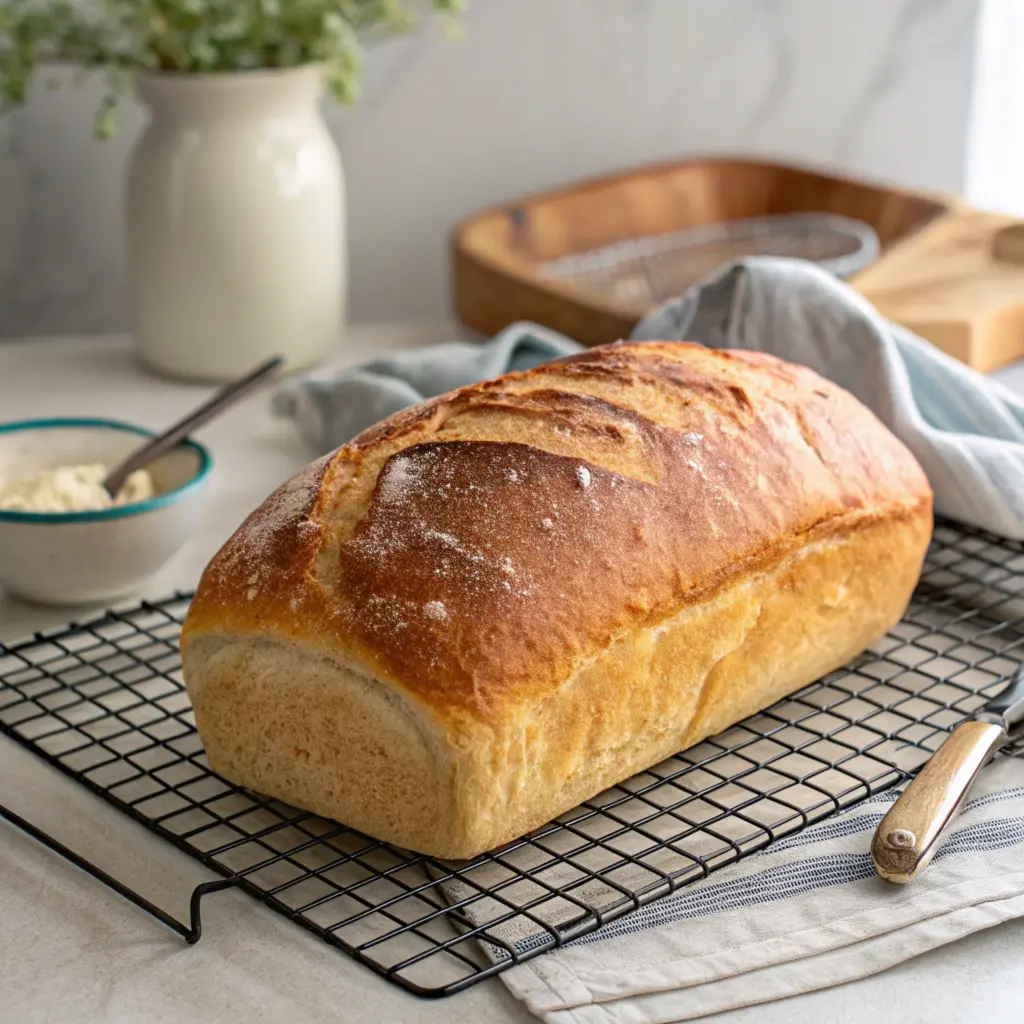
The secret to good sourdough bread often lies in precise baking techniques. For the first 20 minutes, maintain a steamy environment by keeping the Dutch oven lid on or ensuring there’s sufficient steam in the oven. Afterward, remove the lid or steam source to allow the crust to caramelize and turn a rich, golden-brown color.
The bread is done when the internal temperature reaches 200–210°F (93–99°C). Alternatively, tap the bottom of the loaf—it should sound hollow. Allow the bread to cool completely on a wire rack before slicing to preserve its structure and flavor.
Common Baking Challenges and Solutions
- Dense Loaf: This often results from under-proofing. Extend the proofing time or perform the “poke test” to ensure readiness.
- Flat Bread: If your dough spreads instead of rising, the gluten network may be weak, or it was over-proofed. Focus on shaping techniques and adjust fermentation timing.
- Burnt Crust: Lower the oven temperature slightly or reduce the baking time to prevent over-caramelization.
By mastering these techniques, your sourdough bread will emerge from the oven with a perfect balance of texture, flavor, and appearance.
Serving and Storing Sourdough Bread
Best Practices for Slicing and Serving
Sourdough bread is at its best when allowed to cool completely after baking. This resting period lets the crumb set, making slicing easier and preventing the bread from becoming gummy. Use a serrated bread knife to cut through the crust without squishing the loaf.
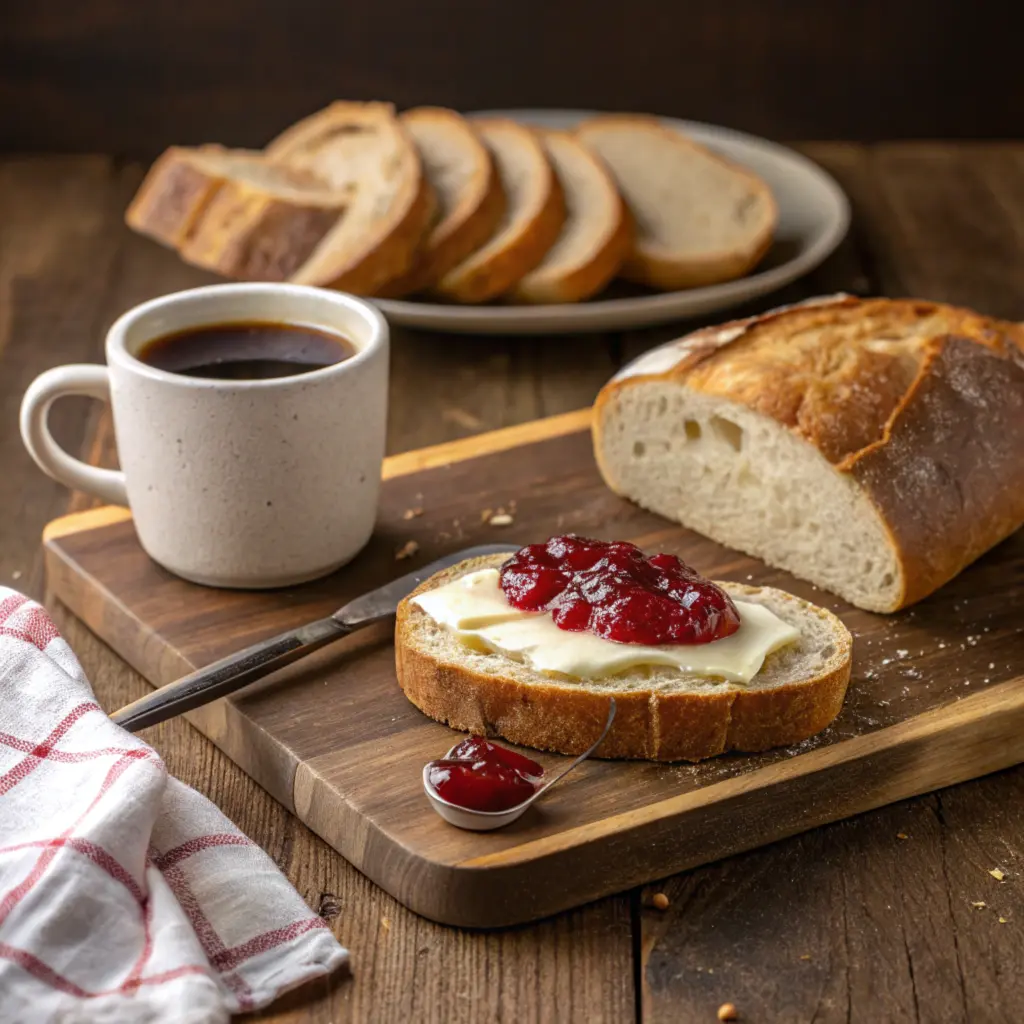
Sourdough pairs beautifully with a variety of accompaniments. It’s perfect for sandwiches, toasted with butter, or served alongside soups and stews. For a gourmet twist, consider pairing it with a drizzle of olive oil, a sprinkle of sea salt, or even a soft cheese.
Proper Storage for Freshness
One of the secrets to good sourdough bread is its natural ability to stay fresh longer than commercial bread. The acids produced during fermentation act as preservatives, but proper storage still makes a difference.
- Short-Term Storage: Keep the bread in a paper or bread bag at room temperature for 2–3 days. Avoid plastic bags, as they trap moisture, leading to a soggy crust.
- Long-Term Storage: For longer preservation, freeze sourdough bread. Slice it first, then wrap individual portions in plastic wrap or foil before placing them in a freezer-safe bag. Thaw slices at room temperature or toast them directly for convenience.
Reviving Stale Sourdough
If your bread begins to stale, don’t despair! Revive it by spritzing it lightly with water and reheating it in the oven at 350°F (175°C) for 5–10 minutes. The crust will regain its crispness, and the crumb will soften, making it almost as good as freshly baked.
FAQs About the Secret to Good Sourdough Bread
Why is my sourdough bread dense?
Dense sourdough often results from under-proofing, weak gluten development, or a starter that isn’t active enough. Allow the dough to rise longer, strengthen the gluten through proper kneading or stretching, and ensure your starter is bubbly and ready.
How do I know if my sourdough starter is healthy?
A healthy sourdough starter is bubbly, doubles in size after feeding, and has a pleasant tangy smell. If it appears sluggish or has an off odor, it might need more frequent feedings or warmer conditions.
What is the best flour for sourdough bread?
Unbleached bread flour is ideal for beginners due to its high protein content, which supports strong gluten development. Whole wheat and rye flours add depth and character but may require additional hydration.
Why does my sourdough bread taste too sour?
Excessively sour bread can result from prolonged fermentation or high temperatures during proofing. Reducing fermentation time or proofing the dough in a cooler environment can balance the tanginess.
Can I use sourdough starter straight from the fridge?
While you can bake with a cold starter, allowing it to come to room temperature and feeding it beforehand ensures better activity and a more predictable rise.
What’s the best way to store leftover sourdough bread?
Store it in a paper bag or bread box at room temperature for short-term freshness. For longer storage, freeze slices individually and reheat them as needed.
Conclusion: Unlocking the Secret to Good Sourdough Bread
Baking sourdough bread is a journey that blends science, tradition, and creativity. To begin with, it requires nurturing a lively starter that serves as the foundation of your bread. From there, mastering fermentation, shaping, and baking techniques transforms basic ingredients into something truly extraordinary. Moreover, every step offers an opportunity to create a loaf that is unique and deeply satisfying. Ultimately, the secret to good sourdough bread lies in patience, attention to detail, and a willingness to experiment. With time and practice, even novice bakers can unlock the magic of this ancient art.
By selecting quality ingredients, understanding the behavior of your dough, and embracing the art of timing, you can craft loaves that are as delicious as they are beautiful. Whether you’re a novice or a seasoned baker, the joy of pulling a perfectly baked sourdough from the oven is unmatched.
Let your sourdough journey inspire creativity while also fostering mindfulness and connecting you to an age-old tradition shared by bakers worldwide. In fact, each loaf tells its own story—and, with time and practice, your bread will speak volumes about your growing expertise. So now, it’s time to roll up your sleeves, embrace the process, and let the magic of sourdough transform your kitchen. Happy baking! 🥖

